Saturday 3 December 2011

Tenth & Eleventh 'Explore Creativity' Lessons- The Process of the Wearable Structure Making


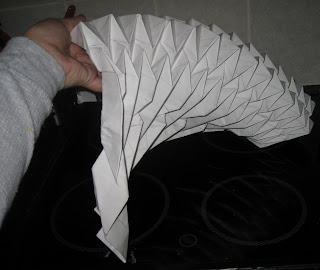
 The last two weeks of this module are dedicated in creating a wearable structure based on one or more techniques that we learnt all the last week. The most important thing is not just creating a garment but experimenting on the stand and finding out new interesting ideas. Coming to the class, I had some ideas already in my mind but from the beginning until the end of these weeks, the result was totally different but in a positive way. The thing I knew so that I could start up with something, was that I wanted to work with pleating and tights wrapped around a chair. In the meanwhile I decided to add a jacket deconstruction into my work so that I have a basic shape to start with. And so the preparation for the materials began. I started up with a complex pleating on a paper which finally was proven really difficult to feet the fabric in, I wrapped two chairs with tights( which the one of them I painted) in different styles and I bought a jacket that I started working with. At that time I came up with a design idea for a dress I could create, but in the process some plans changed.
First Idea


chair mixed with other objects so that I can get a more interesting shape

with tights
with paint

second chair


the jacket


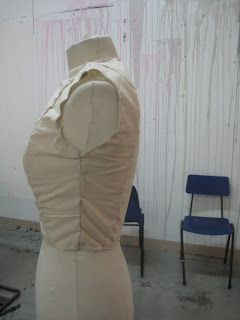
Coming to the class, I stared experimenting with the jacket and working with creating layers over layers that did remind of accordion pleating , so that I could change the shape and the style of the jacket.


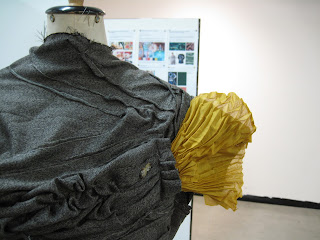
This took almost a whole day after I came up with this shape, and sewing it in some parts. Then I thought I wanted another pleating style for a basic in my dress so I made one more and I used the first one as a trial , in another smaller fabric. The new pleat that I then created, I used it as a sleeve and the small one which was not perfectly pleated I used as decoration. I changed the position o the jacket by using the one whole from which the sleeve was removed as entrance for the head so the collar automatically was transformed into a sleeve. The second sleeve that was left I though to use it as a decoration again so I came up with  frou-frou shape over the chest.


 When looking at the top that I had created, it reminded me of Victorian ages which I really love, so I was wondering how I can translate the style of that age into today's fashion. I designed one more dress that came to my mind.

Final decided idea


I firstly added the yellow tights under the lower part of the jacket .For this idea I needed more tights and nice pleated fabric to use as a skirt.! I made one more chair with tights and I experimented on pleating velvet which I first thought would not work because of the weight of the fabric but surprisingly enough it was aesthetically unique elegant so I used it. When the tights where dry I cut them up in single lanes and I sewed them on a piece of calico which later I covered by sewing the velvet on so that only the ends of the tights were showing and the same time those worked as extra volume support for the skirt. 


Now only the last details were left like adding a zipper on the back and caring about how the lower part would stand in the right height around the belly. This is when I sewed two pieces of fabric on the right and left of the dress and I connected the upper with the lower part.The last detail I did not forget was the neck decoration. I tried pleating again, in accordion style and fabric over fabric to make it look more dramatic. And the dress was done!!!
back view of the dress


Good luck to all of us for Tuesday!


The final garment just before the runway show


Friday 18 November 2011

Ninth ' Explore Creativity' lesson- Garment patterns


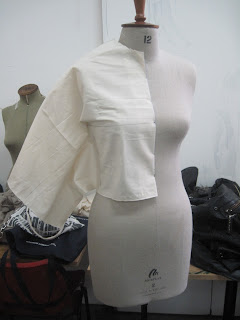
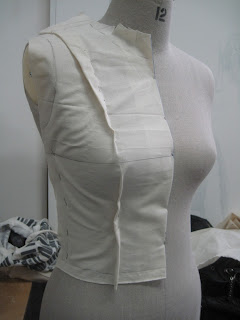
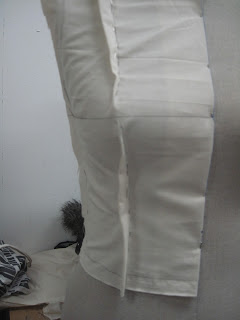
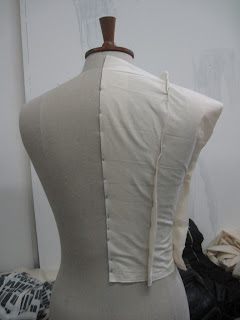
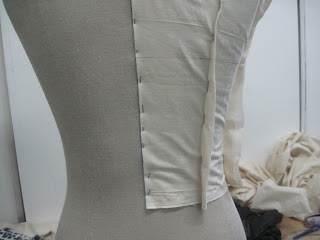
This weeks lesson aim was to teach the students of the class, create a garment pattern and understanding the whole process of it on a human body. Starting with the pattern of a woman's top, the tutors illustrated in simple steps how we start a pattern. Then, spreading up in teams of two, we had to taken responsibility of the front and the back, so I chose to do the front.The process of a pattern goes as following. First step is taking a piece of fabric 60x60 cm and creating a line that leaves a distance of 5cm from the end. This will be the allowing line for middle. Then with a different pen colour, we have to create a vertical line which will be the one that passes over the breast area and will be a guide line for the seams.The next step is placing the one line passing from the middle of the mannequin to the side of the belly.The same is for the back. When having placed the fabric straight, there should be one part on the top and one on the lower part vertically. This is the part where we take those leftovers and pinning them together in a way that they follow the body line.


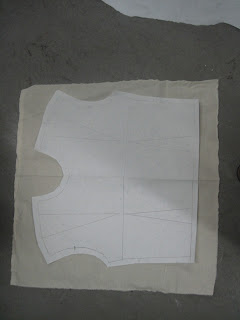
The next step was preparing the pattern. First we had to take the piece of fabric of the mannequin and
place it on a paper. Then following all the lines with a tracing wheel to make the stamp of the outline of the top on the paper. The next part is to join the lines with each other and the pattern is ready!


After that, I decided to  make a new top out of the pattern, so I had to  transfer the new pattern to another  piece of fabric. I placed the pattern on the fabric and i cut around it by following the edges of the pattern. Then I took the tracing wheel and pressed the lines of the seams. When I finishes, the new top was made. The only thing left, was stitching the seam lines together and putting it together with the back part.


 After me and Stellina did that, we decided to make a skirt for the body and painting the top to decorate it.


Saturday 12 November 2011

Eighth 'Explore Creativity' lesson- Pleating techniques

This week's session aimed to teach the students a new, extremely interesting technique called pleating'.The main idea is creating lines on a paper, folding them in any preference, then adding a piece of fabric in between two same folded papers, ironing it for for 15 minutes to half an hour, and then the chose shape will be transferred to the fabric.
The class started with a presentation of the owner of  Ciment Pleating , who explained us the process of pleating and brought many different pleated samples for the students to see.


Then the class started with two basic pleating techniques which where achieved by folding straight lines.

knife pleat


box pleat
The next  pleating technique was like accordion and it was more complex, so Caryl Court explains in simple steps how it works, in the following videos:


And this is my try:


Coming back home I continued trying some other pleating techniques with the help of the internet and books.I created some more pleated fabrics and the process is shown in the following pictures. The first one starts with the rule " score-create-press-release" and it starts with the following pattern:


The next technique is based on the rule 'fold-create-fold-pleat' and it was a try to create triangles.You can find the technique in the book Folding Architecture:


Another pleating style I found in the book Supersurfaces was the following one and it is easy to achieve by following the steps in the following pictures that i took while the process:


Origami shape by Issey Miyake

 One last pleating style I created, was an own try of mine, to create a new shape out of the combination of the previous techniques i practiced on. Following this pattern, you will be able to shape the following result.


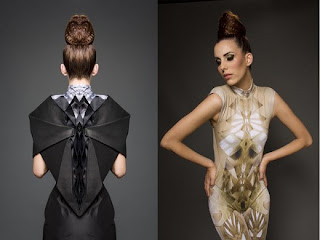
origami dress( not by me)


Shenaz Engineer:
The following pictures are from the fall/winter 2011 collection of Shenaz Engineer and I find them very interesing and they include creative pleating techniques.